Configuring Routes:
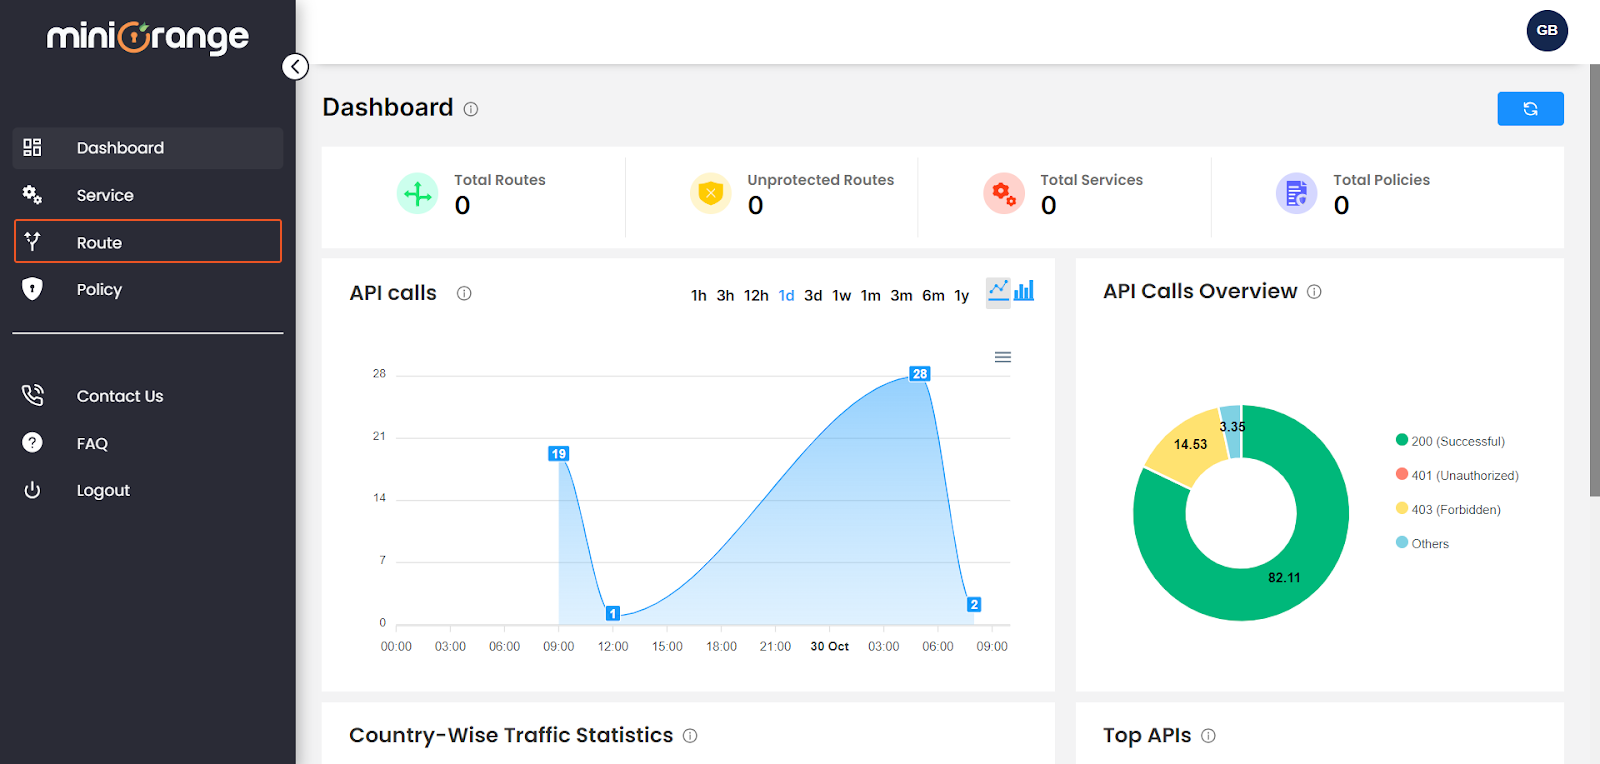
- In your XecureAPI dashboard, you will find a navigation section on the left-side panel.
- Navigate to the “Route” section.

- To configure the route, click on the “Add Route” button.

- Name: Provide a valid and unique name to route.
- Description: Please provide information regarding the purpose of the route.
- Service: Select the service at which the XecureAPI gateway will proxy the incoming request for this route.
- HTTP Method: Select the required HTTP method for this route.
- Endpoint: Enter the path at which the XecureAPI gateway will accept the incoming request for this route.
- Enable WildCard routing: Enable this option If you wish to manage your APIs through a single route. This is useful when you have a large number of APIs with common prefix paths and want to apply the same security features using the XecureAPI gateway.

-
Click the 'CREATE' button. If all configurations are valid, the route will be successfully created, and you will be redirected to the route table.
-
To deploy the route, click on the 'Deploy' button located at the top-right corner. You can check the deployment status in a table. Look for a green icon, which indicates that the route is successfully deployed on the gateway.


