Configure Authentication Policies:
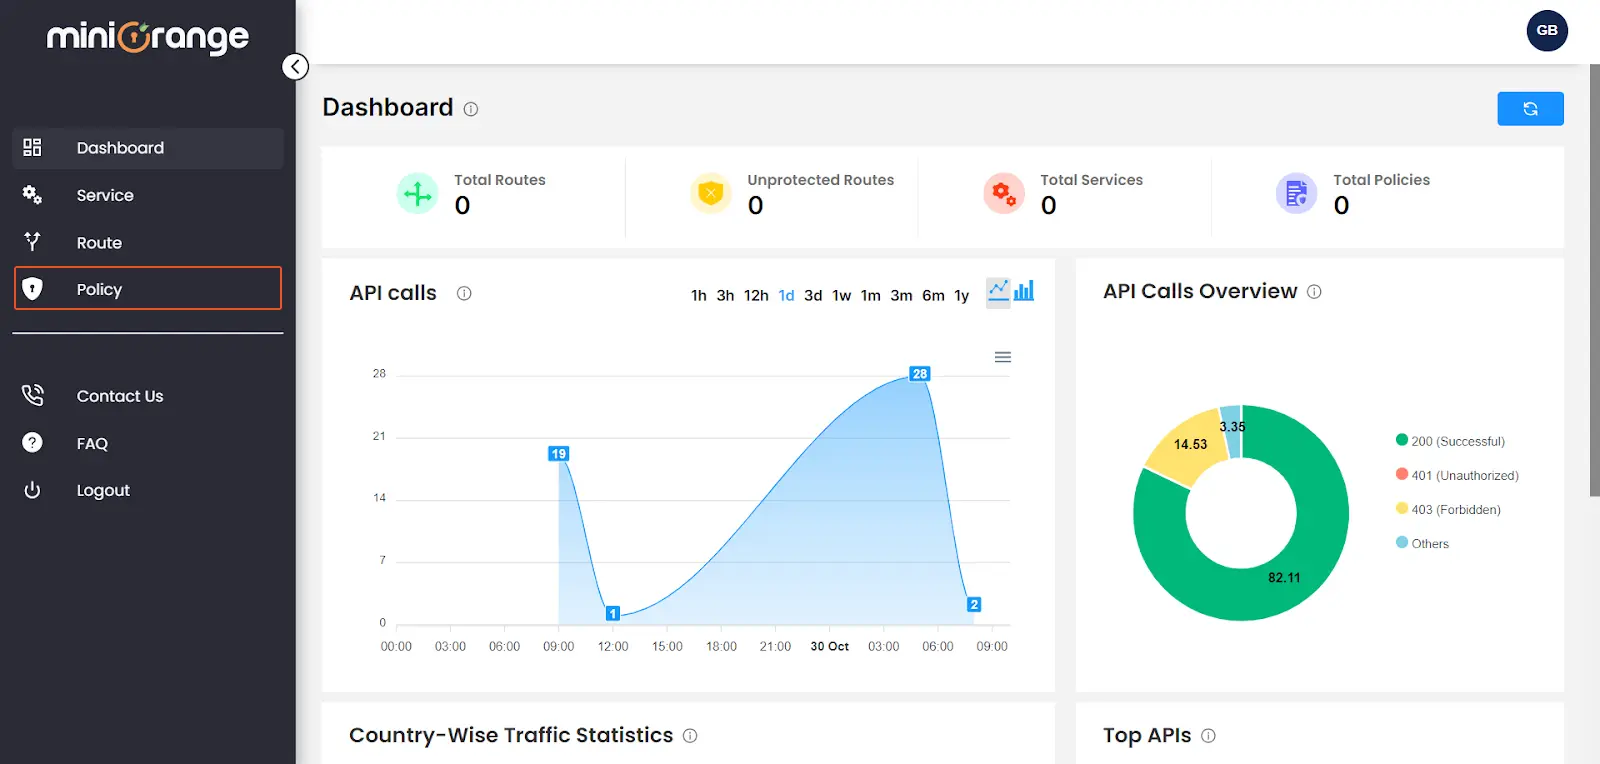
- In order to configure policies for your routes, navigate to the “Policy” section.
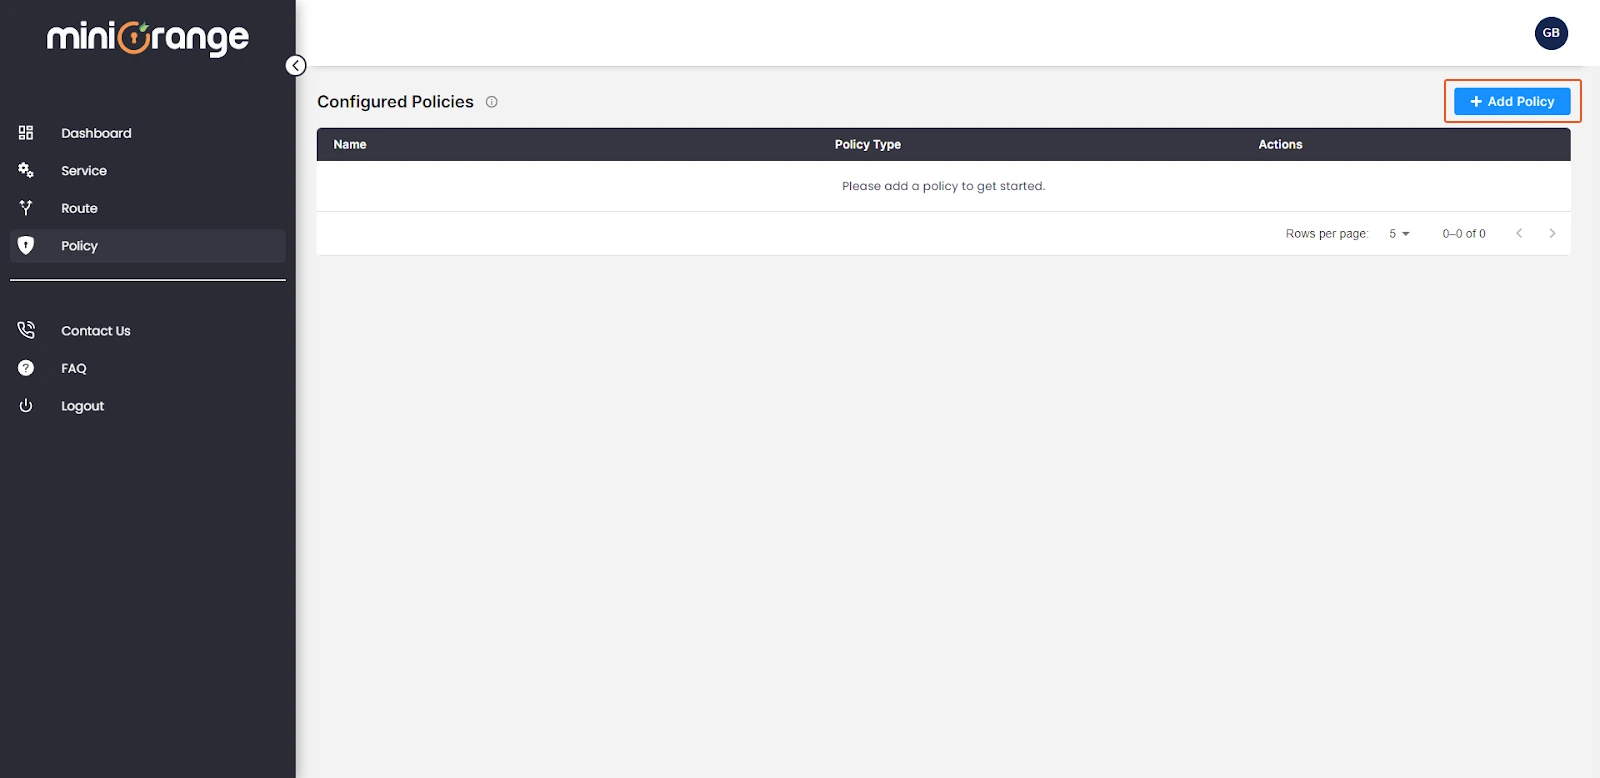
- click on the “Add Policy” button located at the top right.
- XecureAPI provides a wide range of policies which implement robust security measures to protect your API services.

Authentication
Verify the identity of every user trying to access the API using various authentication methods including API Key Authentication, Basic Authentication, JWT Authentication, OAuth 2.0, LDAP, and others.
1. Key Authentication:
- To configure the API Keys to authenticate users/applications for your configured route. Select the “Key Authentication” policy.

-
Routes: Select the route to which you want to apply the API Key authentication policy.
-
Provide the following information :
- Name: Provide a unique name for your policy.
- Description: Provide information about the purpose of this policy.
- Key Name: Enter the custom API Key name used to transmit the API Key. This will be used to identify the key and authenticate the request by its corresponding API key value during the API request.
- API Key: Enter API key value. You can also generate a random key by clicking on the “Generate Key” button.
- Select the location for verification of the API key during an API request (Header, Query parameters or Request Body). You can also configure multiple locations at which the API key is verified.
-
Click the 'Configure' button. If all configurations are valid, the policy will be successfully created and attached to the route.

2. Basic Authentication:
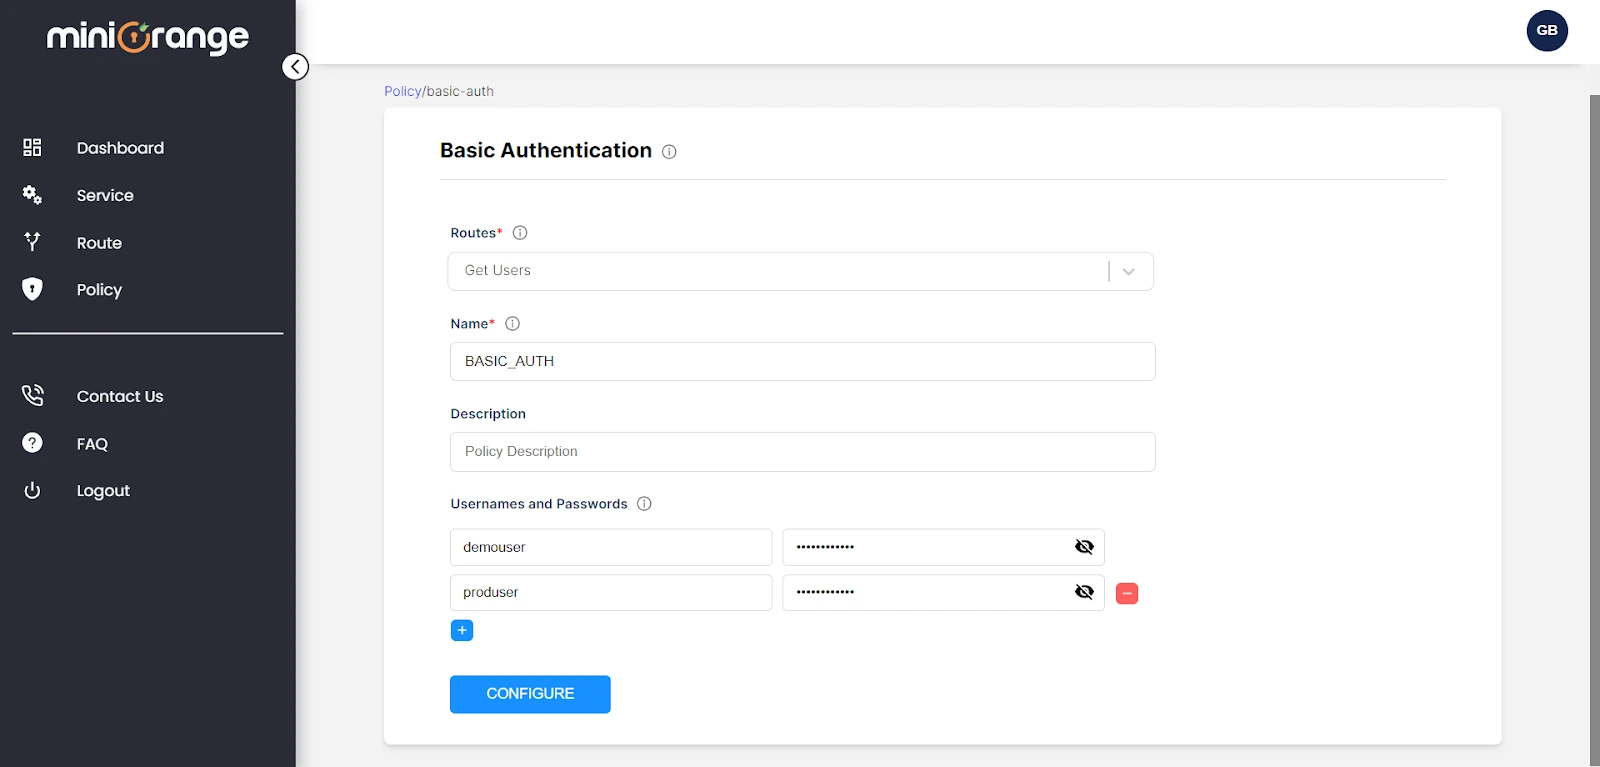
- To configure the username & password to authenticate users/applications for your configured route. Select the “Basic Authentication” policy.

-
Routes: Choose the route to which you wish to apply the "Basic Authentication" policy.
-
Provide the following information :
- Name: Provide a valid and unique name for policy.
- Description: Provide information about the purpose of this policy.
- Username and Passwords: Specify username & passwords for authentication. You can add multiple username & passwords in the policy. At least one username & password must be there.
-
Once done, click on “CONFIGURE” to create the policy. It will also attach the policy to the route.
3. OAuth 2.0 Authentication:
- To configure the access token to authenticate users/applications for your configured route. Select the “OAuth Authentication” policy.
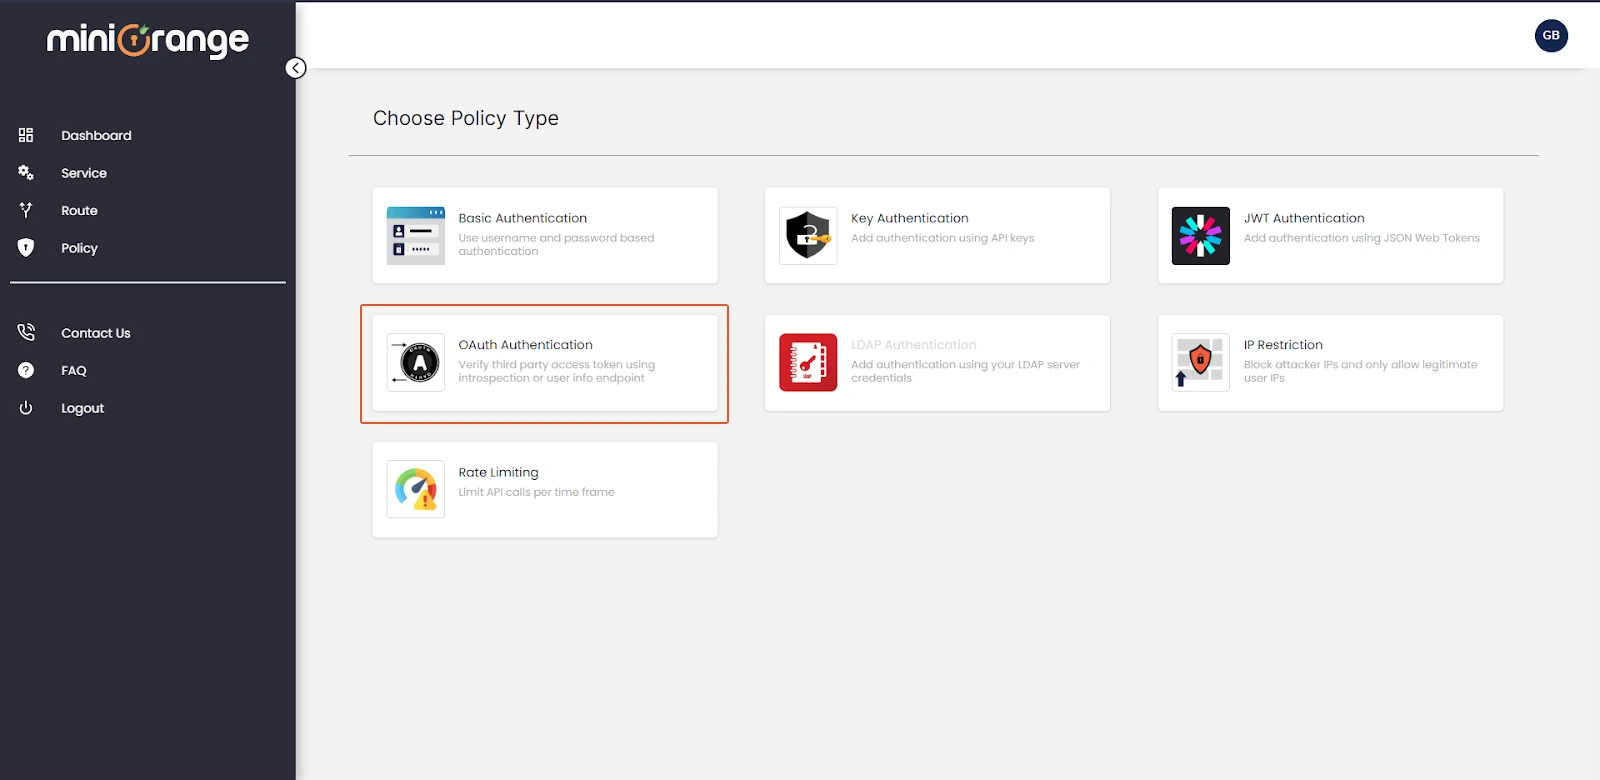
- Routes: Choose the route to which you wish to apply the "OAuth Authentication" policy.
- Choose your application from the list of OAuth providers. Example. Google.

- Provide the following information :
- Name: Provide a valid and unique name for policy.
- Description: Provide information about the purpose of this policy.
- Token Header Key : Key name sent through request header which helps to fetch the access token from header.
- Now, you can choose the url used to verify your access token. Example. Introspection URL
- Client ID : Provide the client ID generated by registering an app on Google Developer Console.
- Client Secret : Provide the client Secret generated by registering an app on Google Developer Console.
- Once done, click on “CONFIGURE” to create the policy. It will also attach the policy to the route.

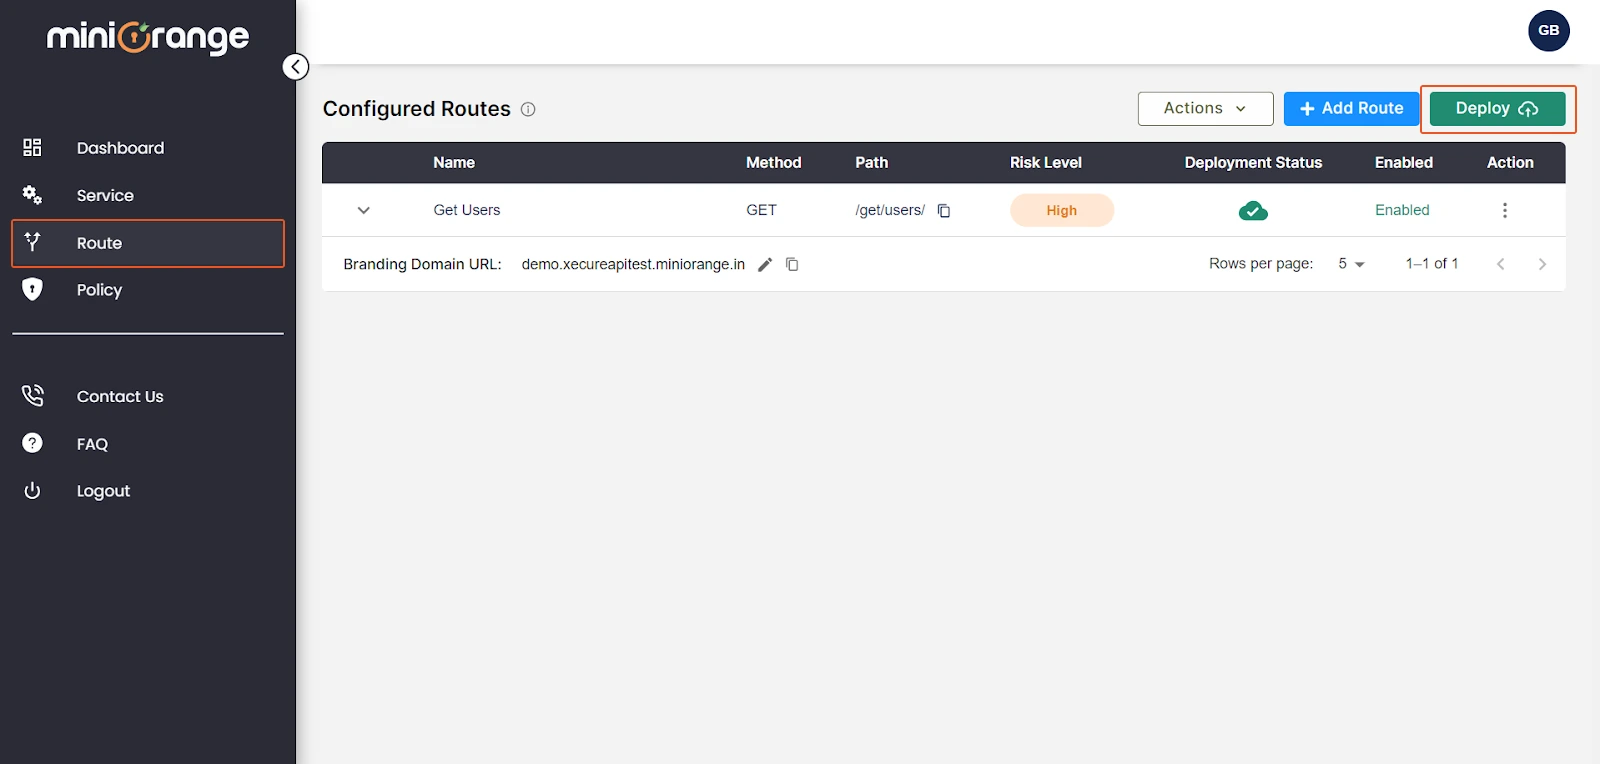
- After creating and attaching the policy to a route, Navigate to the “Route” section from the left-side of the panel.
- Click on the “Deploy” button to apply the latest configuration.
